
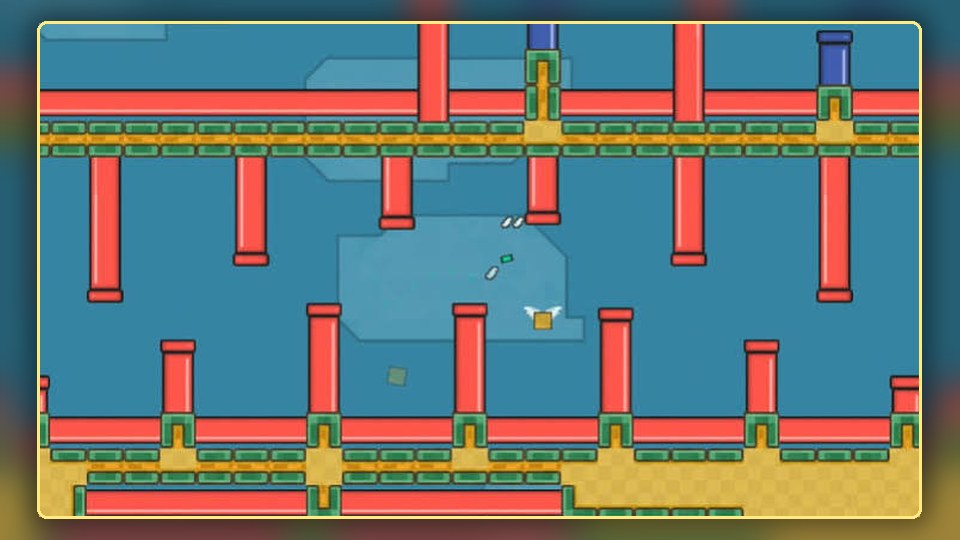
The most reliable improvement comes from combining route planning with calm, deliberate control. Use the ideas below one section at a time.
Identify the Required Order
Every level asks you to collect the available energy cells, activate the checkpoint, and reach the exit. Scan the map before moving. Note which pickups sit near the main path and which require a short detour. A few seconds of planning can prevent a long return trip later.
Group Nearby Objectives
When several cells are located in the same branch, collect them in one visit. Move from the farthest item back toward the central route rather than entering the same corridor twice. This creates a natural flow and keeps your route easy to remember.
Approach the Checkpoint Safely
Do not rush the checkpoint just because it is visible. Check the nearby hazard cycle and make sure you have enough room to stop. Activating it from a controlled angle reduces the chance of immediately losing a shield after reaching an important objective.
Save the Exit for the Final Line
Once the checkpoint is active and every cell is collected, the exit becomes your final target. Choose the clearest lane rather than the shortest line on the screen. A slightly longer route with fewer hazards is usually faster than restarting after a collision.
A Simple Practice Plan
- Play one level without focusing on speed.
- Identify the section that causes the most mistakes.
- Repeat the level with one specific correction in mind.
- Use boost only after the route feels predictable.
Consistent movement and a clear objective order are more valuable than a risky shortcut. Once the route becomes repeatable, faster completion times follow naturally.